

About the TemplateFox Node
The official TemplateFox community node for n8n lets you generate PDFs from templates with dynamic data. Works synchronously — returns the PDF URL immediately. Compatible with n8n AI Agents.
Why automate invoices?
A customer pays through Stripe Checkout. Now you need to generate an invoice, email it to them, and file it somewhere. For one payment? Quick. For hundreds per month? That's a full-time job.
This workflow handles the entire chain: Stripe payment succeeds → invoice PDF is generated with your branding → customer gets it by email → a copy lands in Google Drive for bookkeeping. Zero manual work.
Here's what we're building: a workflow that triggers on every Stripe checkout, fetches the line items, formats an invoice, generates a branded PDF, and delivers it to the customer and your Drive folder.
Create your invoice template
1.1 — Choose a template
Start with one of our pre-built invoice templates or create your own:
- Go to Templates
- Filter by Invoice category
- Choose a template that matches your style
- Click Use Template to add it to your dashboard
Template: Professional Corporate Invoice
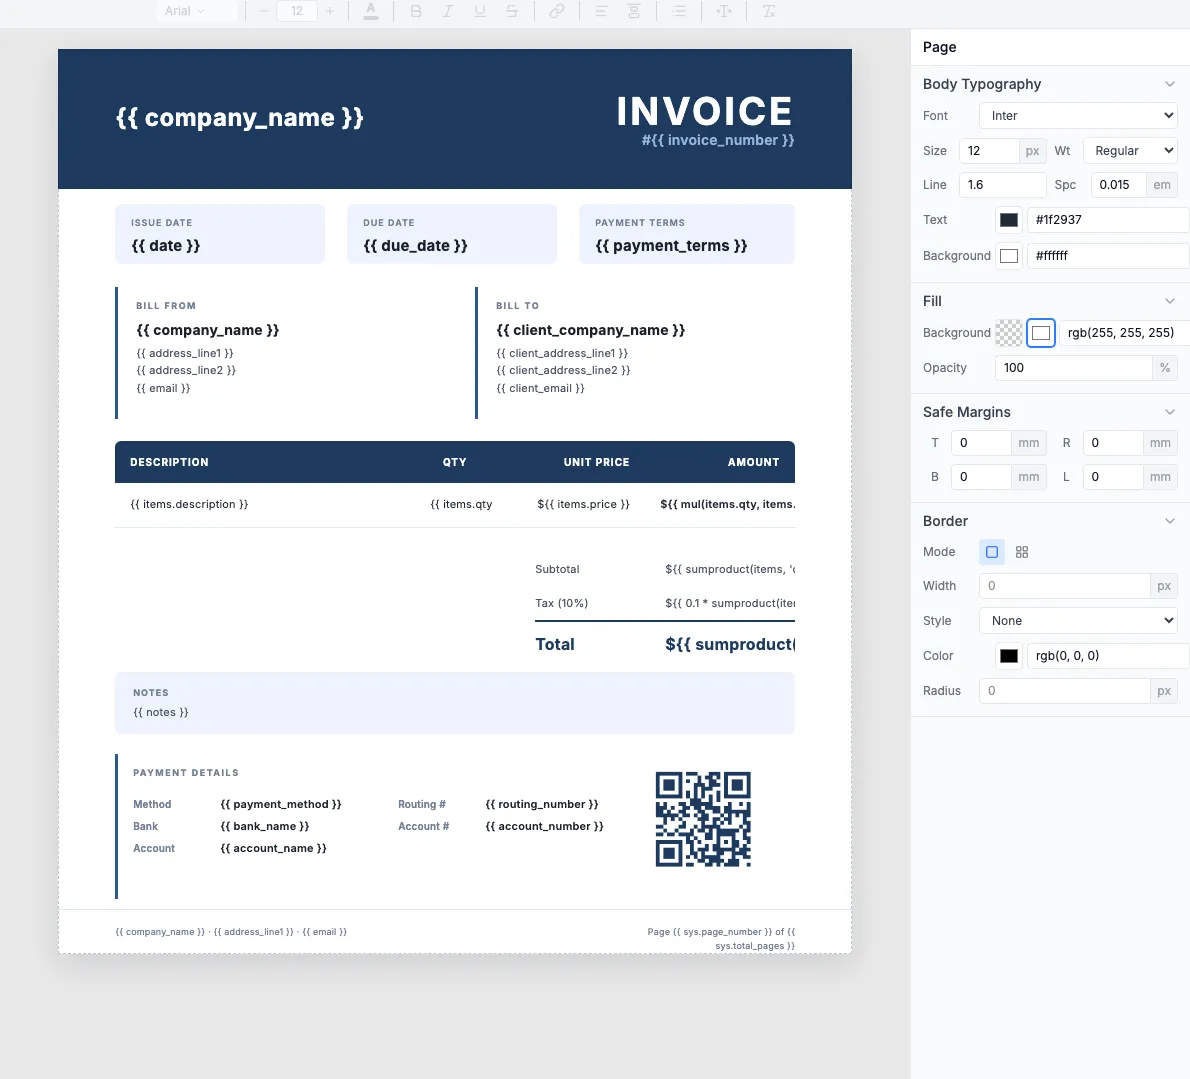
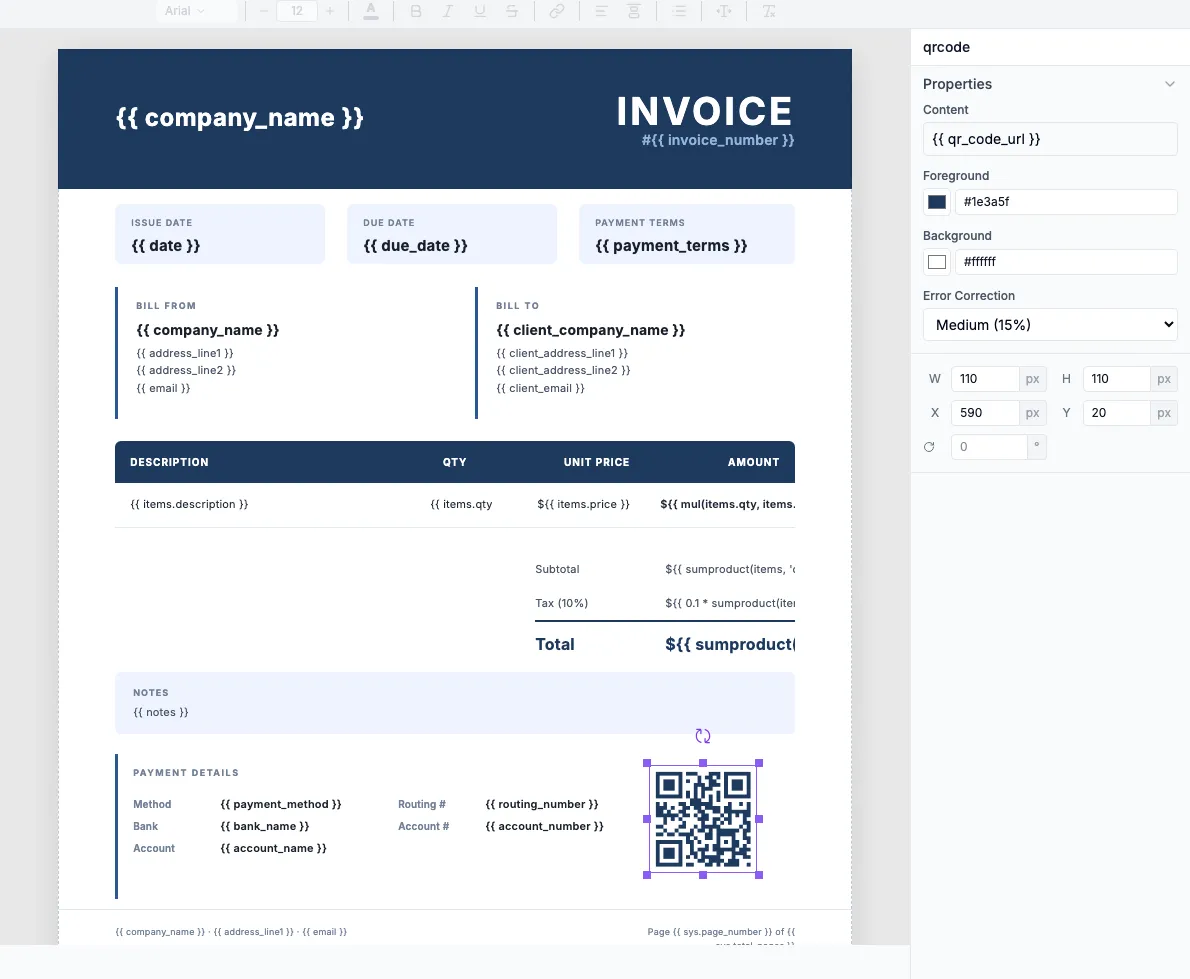
The template includes a QR code for payment. Click it to configure the URL.
1.2 — Understand the template structure
The template uses two types of fields: static ones you set once in the template editor, and dynamic ones filled by Stripe data at runtime.
Set in the template editor
These never change — type them directly into the template design as plain text, not as variables.
- Company name, logo
- Company address
- Bank details (name, IBAN, BIC)
- VAT number, registration
- Payment terms, footer notes
Dynamic variables (from Stripe)
These change per invoice — use template variables that the workflow fills at runtime.
client_company(customer name)client_address_1,client_emailitems[](line items array)invoice_number,invoice_date,due_datesubtotal,tax,total
Why hardcode in the template? Your company name, address, and bank details never change between invoices. Setting them as plain text in the template editor means less data to pass from n8n, fewer variables to maintain, and no risk of typos in the Code node.
Learn more: Expressions · Data Binding · Tables
1.3 — Test with sample data
Use the Preview tab to test your template with sample JSON before connecting n8n. This JSON structure is exactly what the Code node will output.
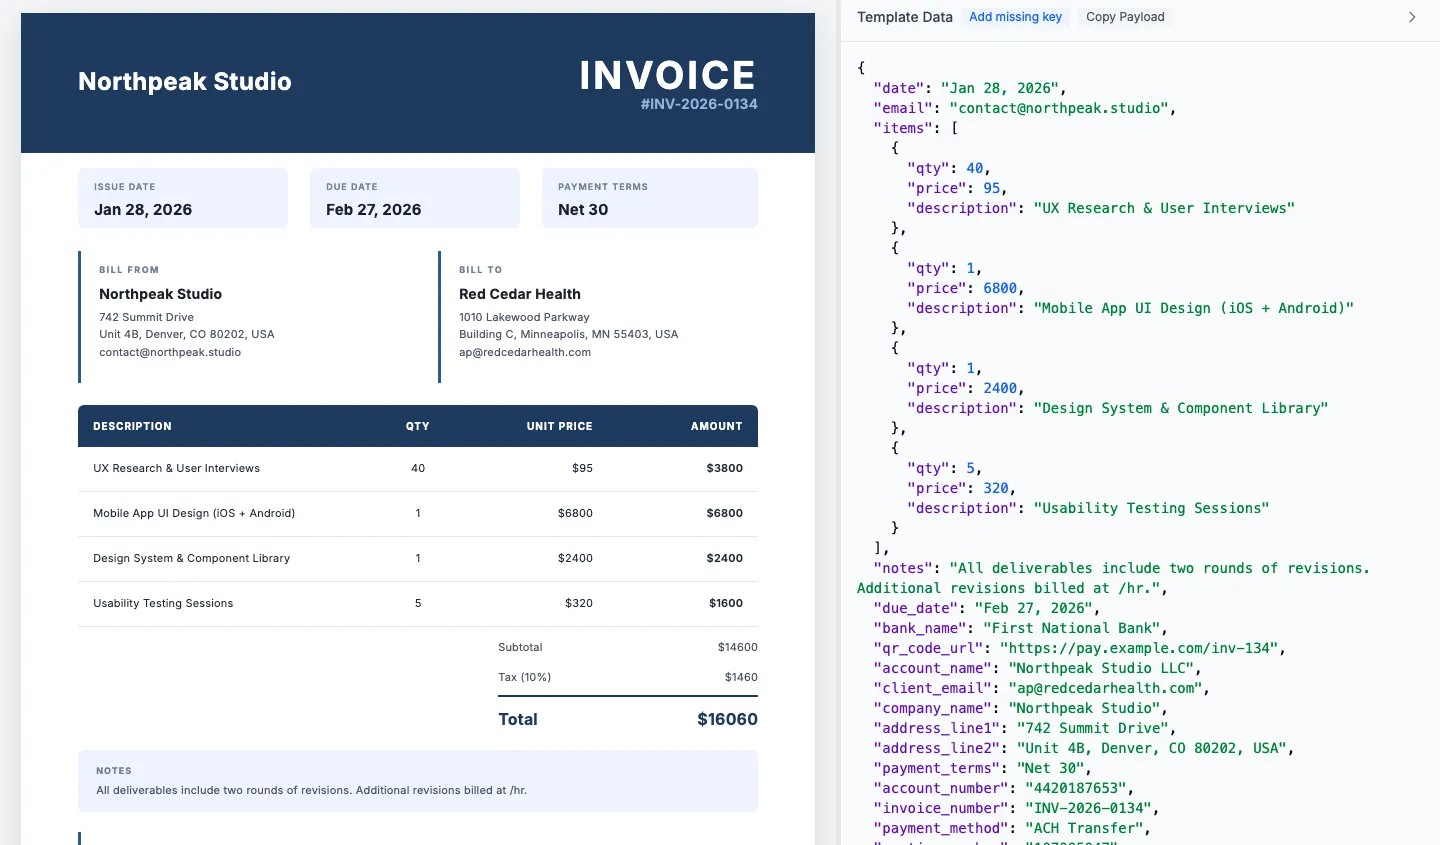
Tip: Copy the JSON structure from the Preview tab. You'll use it as a reference when writing the Code node.
Build the n8n workflow
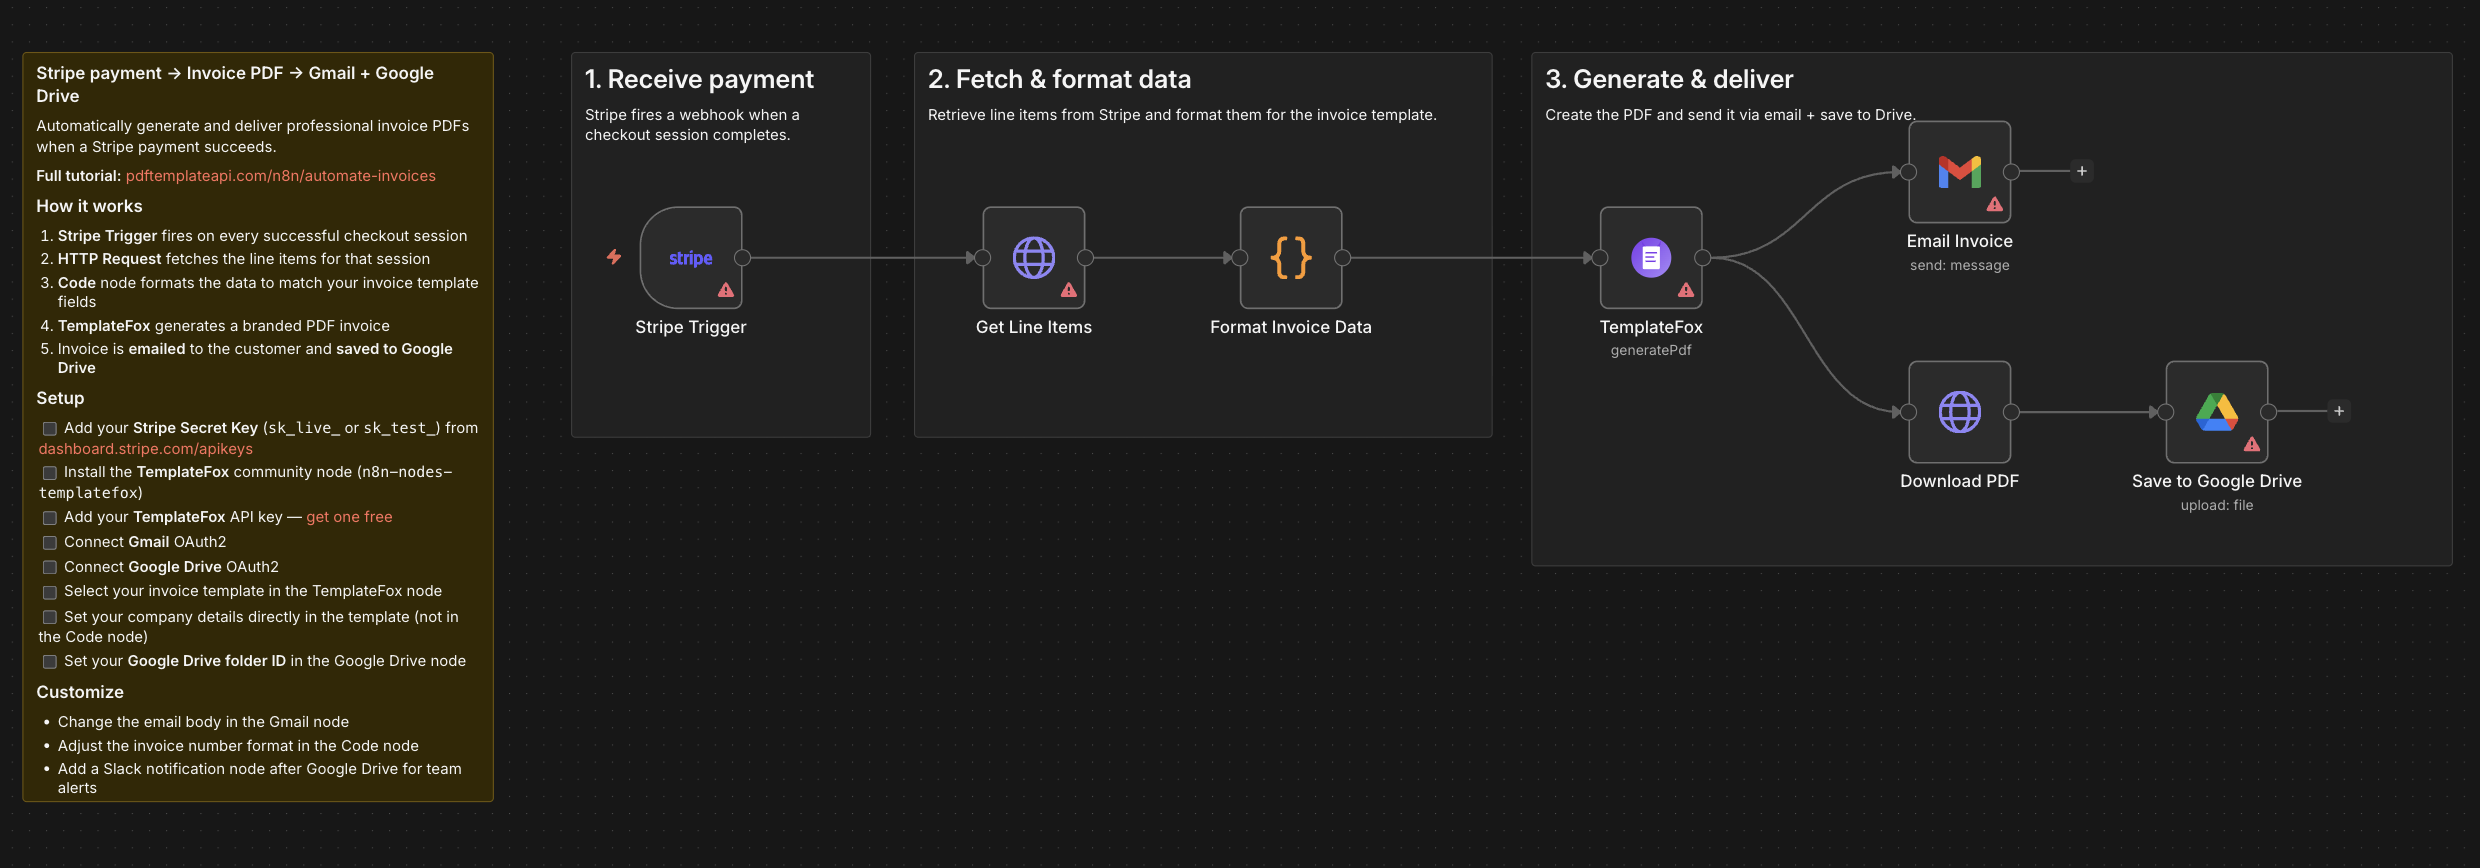
The complete workflow: Stripe payment → fetch line items → format data → generate PDF → email customer + save to Drive.
2.1 — Set up Stripe trigger
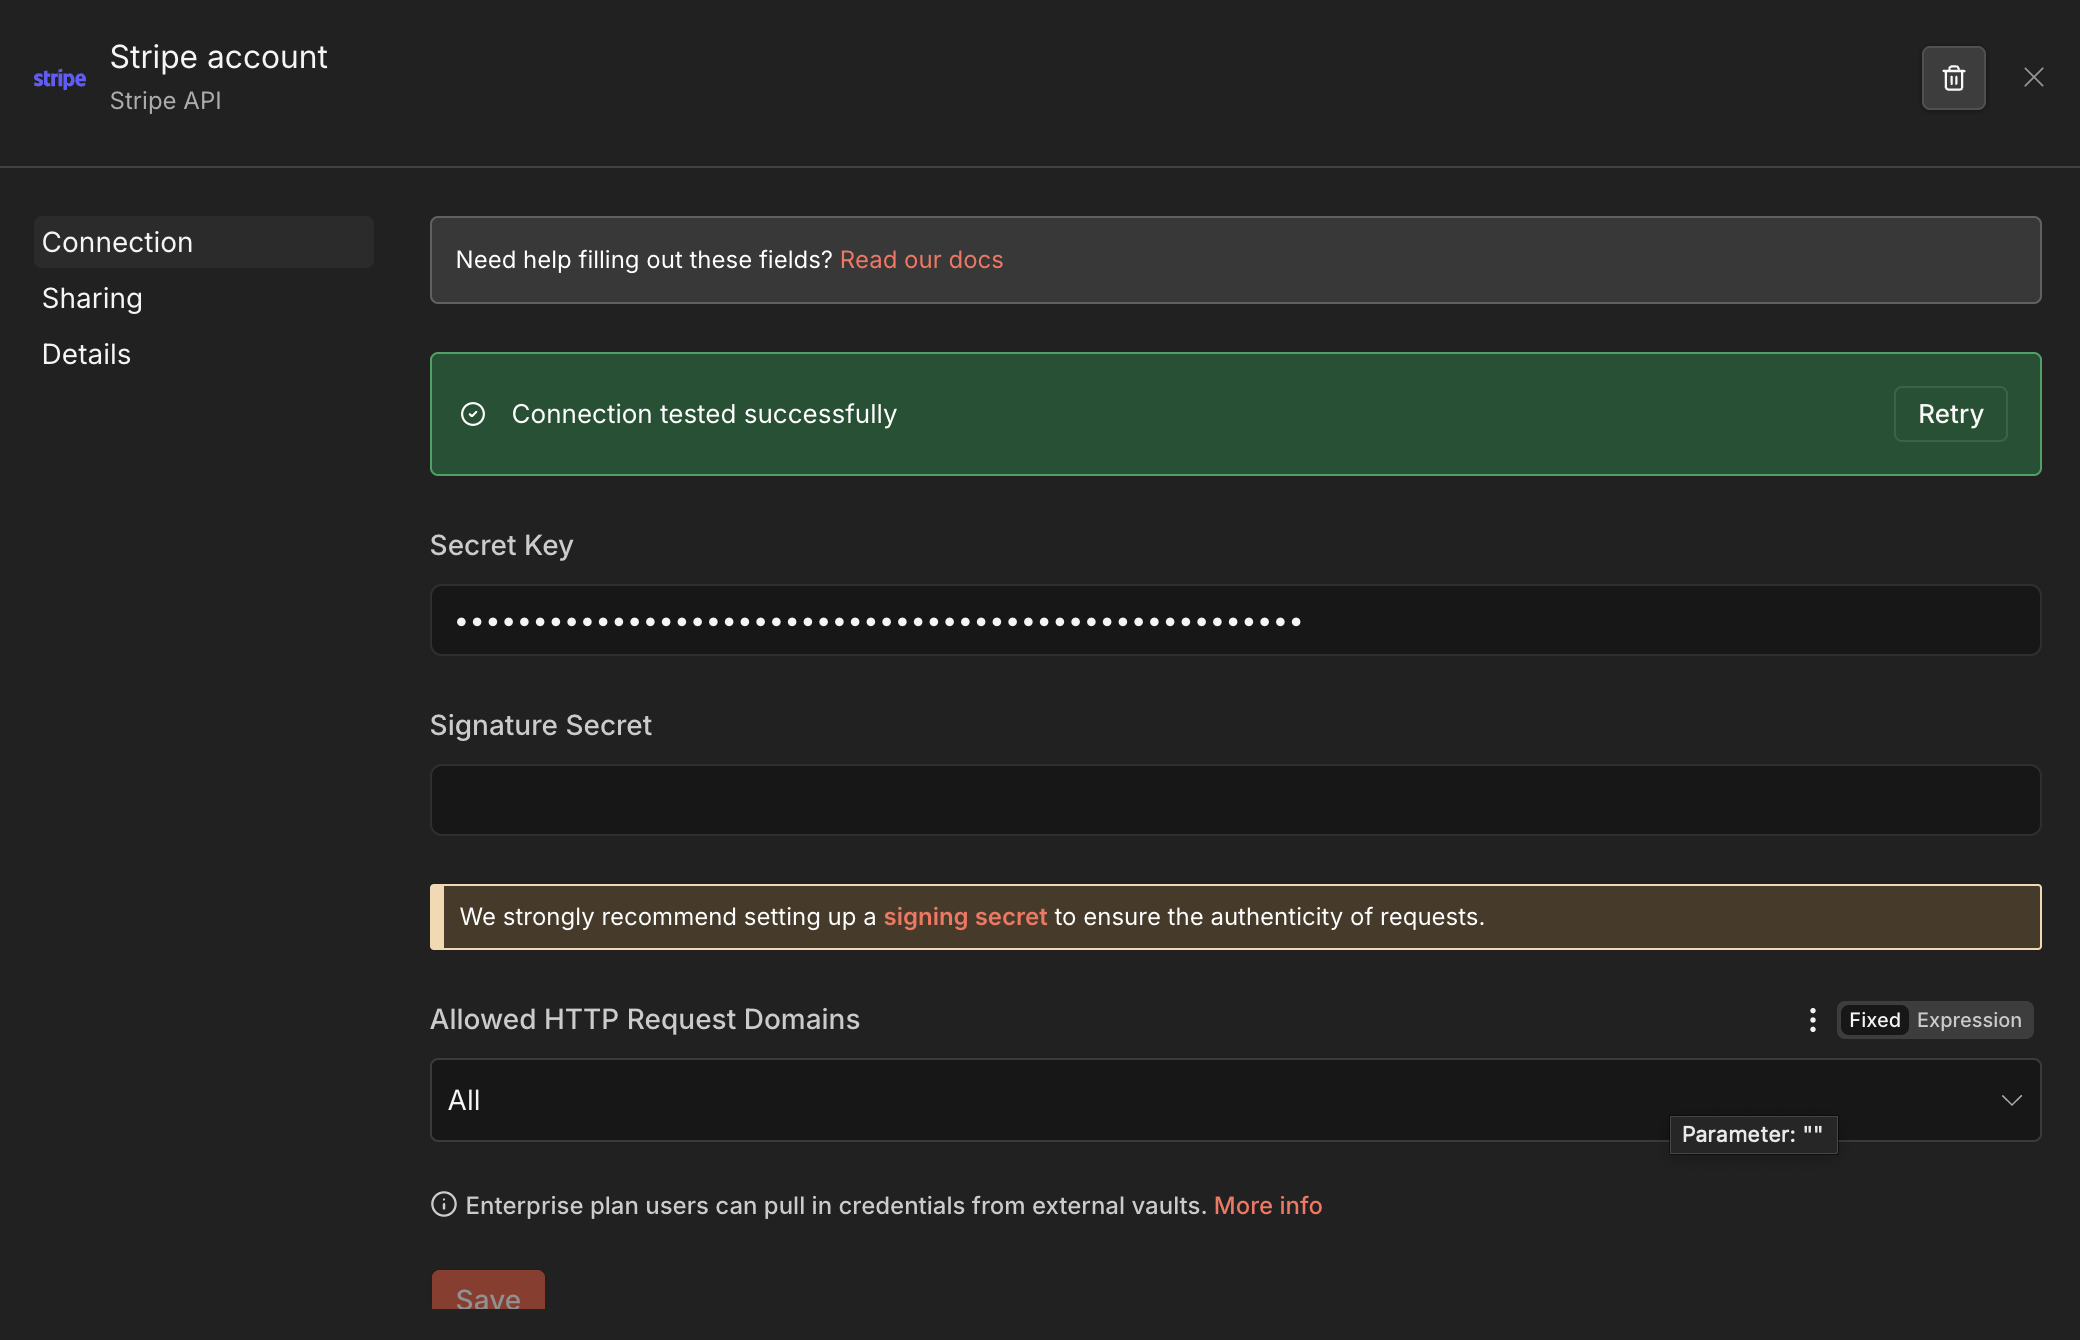
Connect your Stripe account to n8n, then add the Stripe Trigger node to listen for payments.
- Go to Stripe Dashboard → API Keys and copy your Secret key — it starts with
sk_live_orsk_test_ - In n8n, go to Credentials → Add Credential → Stripe API
- Paste the secret key in the Secret Key field — leave Signing Secret empty
- Add a Stripe Trigger node to your workflow
- Select the checkout.session.completed event
- Activate the workflow — n8n registers the webhook in Stripe automatically
Other events: Use invoice.payment_succeeded for subscriptions
or charge.succeeded for direct charges.
2.2 — Fetch line items from Stripe
Stripe doesn't include line items in the webhook payload — you need a separate API call to get them. Add an HTTP Request node:
- Add an HTTP Request node
- Set method to GET
- URL:
https://api.stripe.com/v1/checkout/sessions/{{ $json.data.object.id }}/line_items - Authentication: Predefined Credential Type → Stripe API
This returns the product names, quantities, and amounts for each item in the checkout.
2.3 — Format invoice data
A Code node extracts the Stripe data and formats it to match your template variables. No company details here — those are already in the template itself.
This is the full Code node. It extracts everything from Stripe: customer info, line items, amounts, and generates an invoice number and due date. Adapt the variable names to match your template fields.
No company details here. Your company name, address, bank info, and logo are set directly in the template editor — they never change between invoices, so there's no reason to pass them from n8n.
2.4 — Generate the PDF
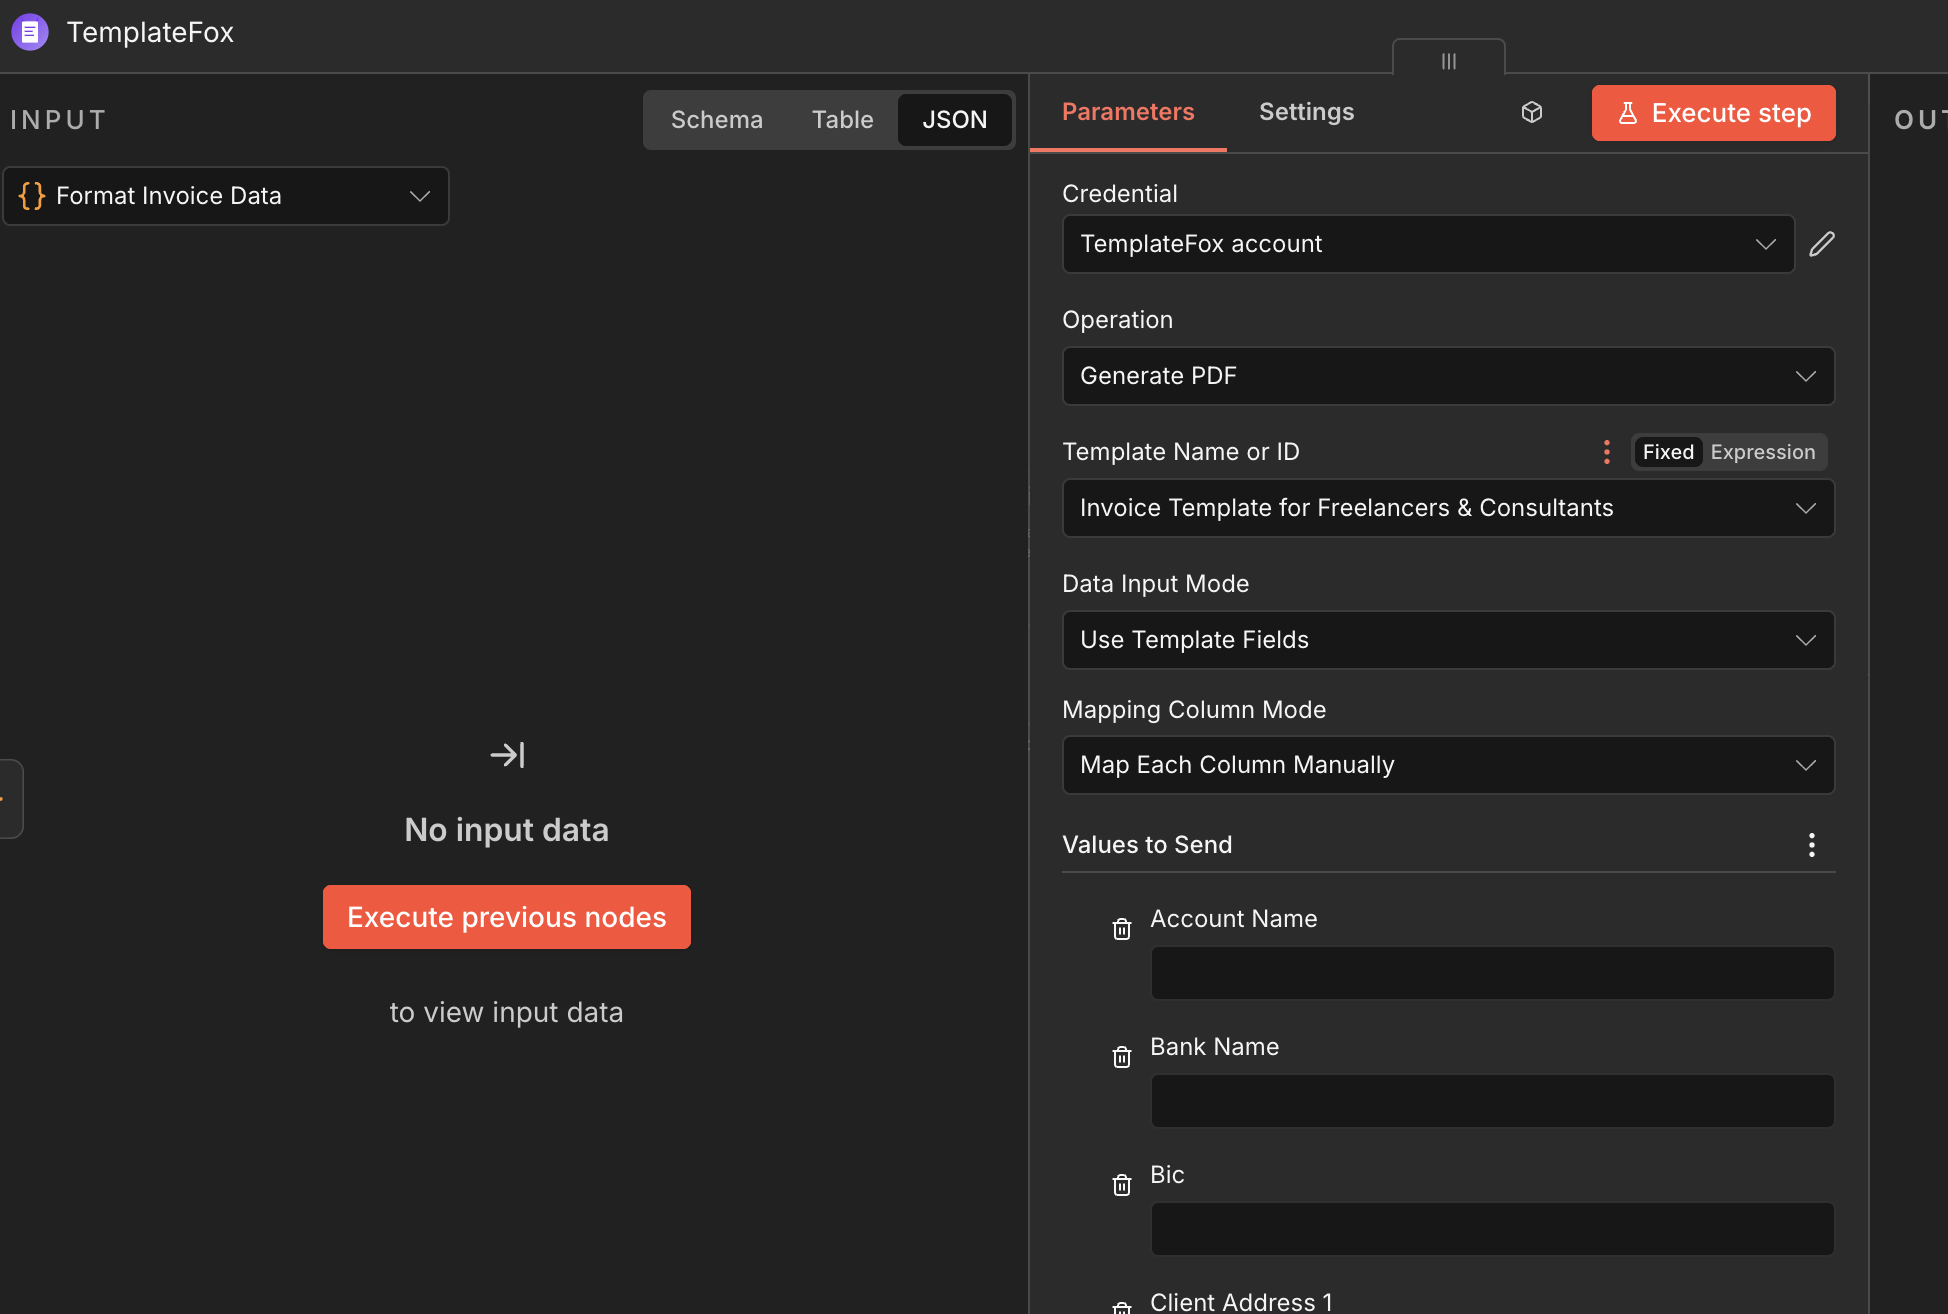
Add the TemplateFox node to generate the invoice PDF:
- Add a TemplateFox node
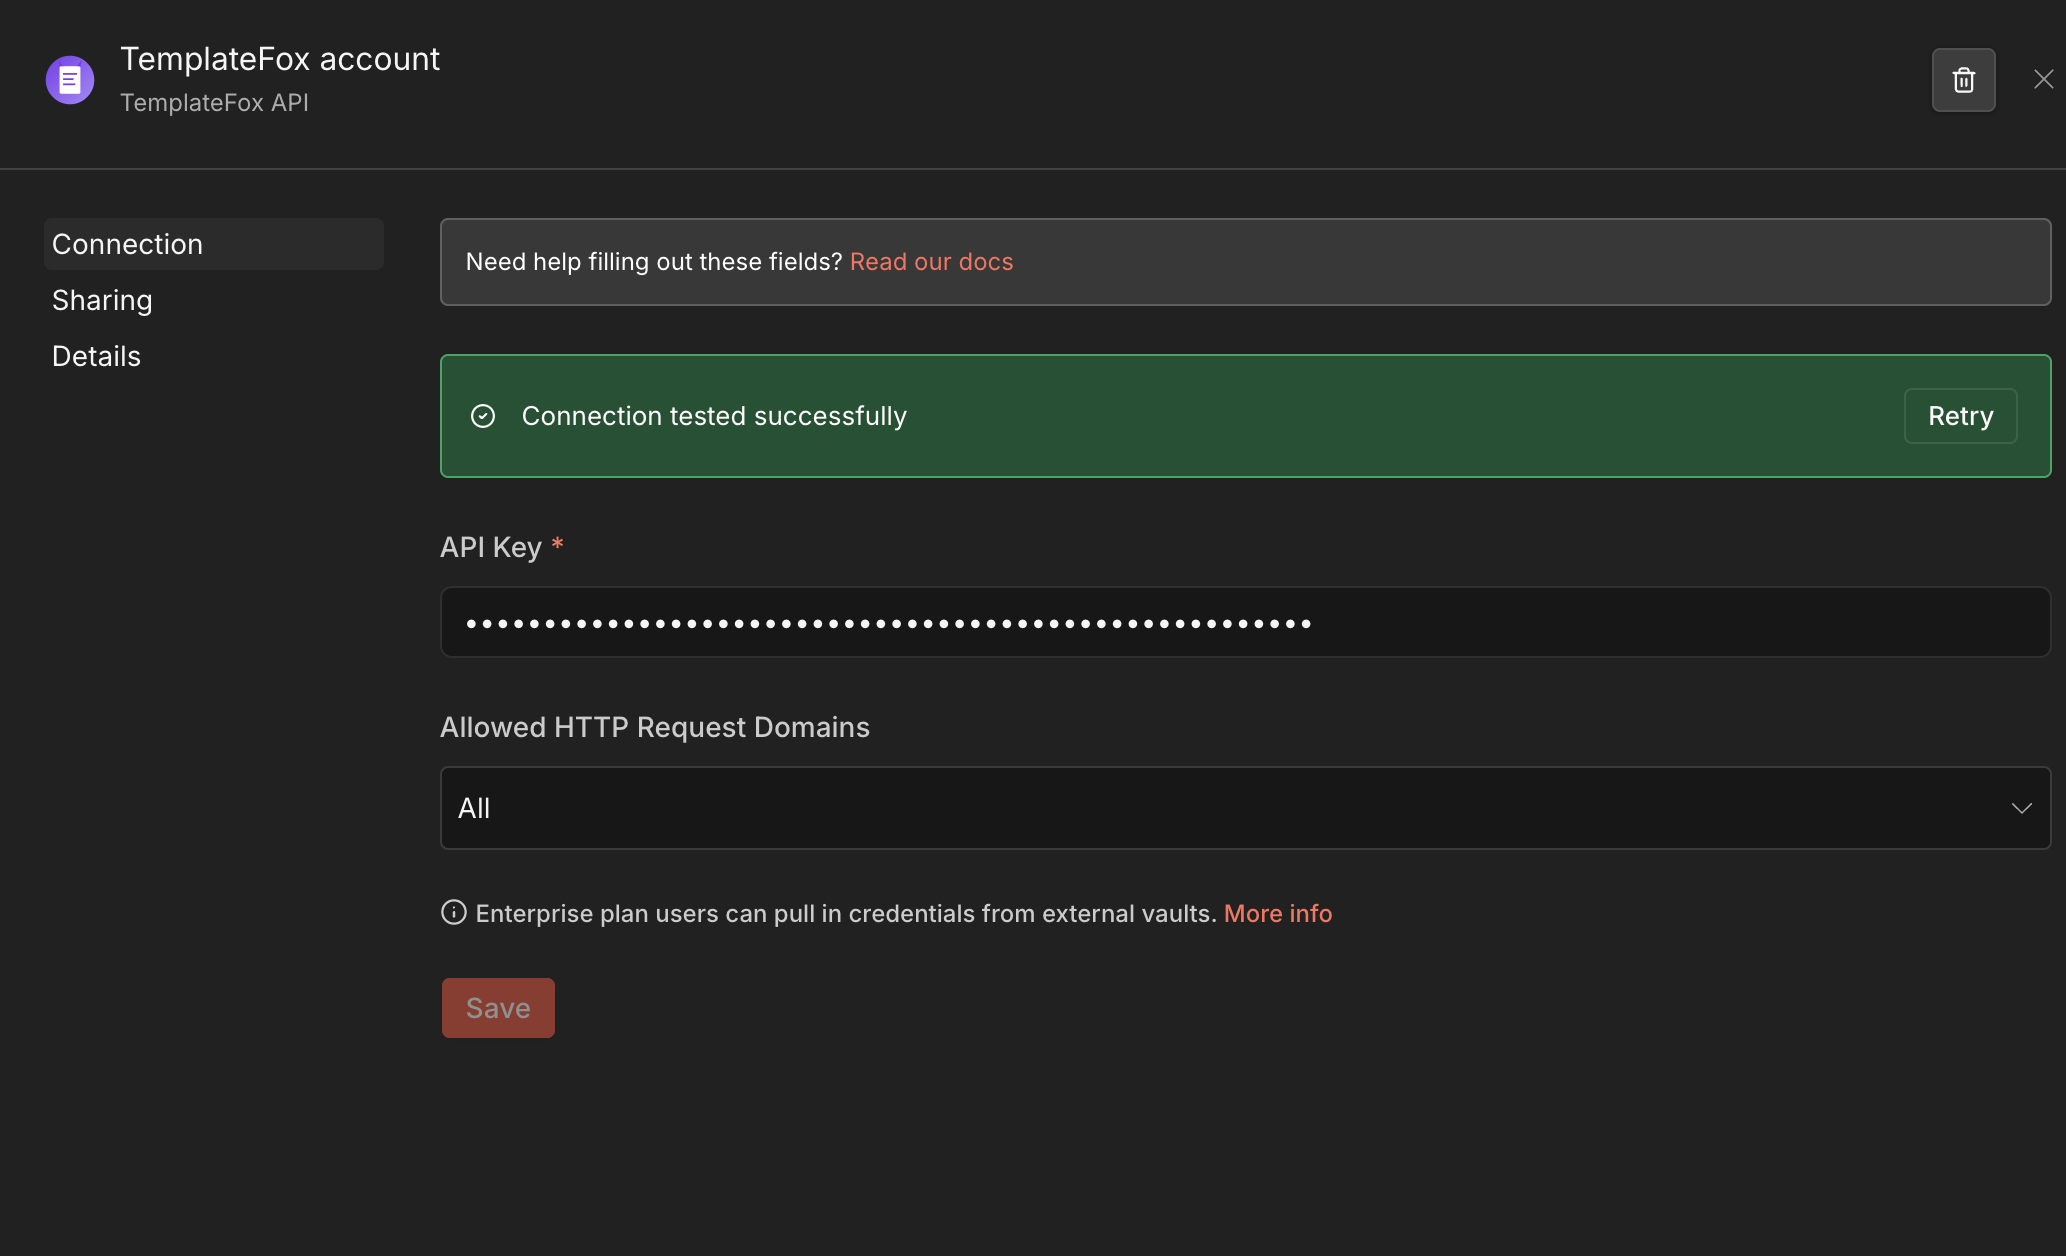
- Add your TemplateFox API key in Credentials → Add Credential → TemplateFox API
- Select Generate PDF operation
- Choose your invoice template from the dropdown
- Keep Data Input Mode on Use Template Fields — the node loads your template's fields automatically
- Map each field to the matching output from the Code node (e.g.
client_company→{{ $json.client_company }})
TemplateFox returns a signed URL to the generated PDF. This URL is used in the next step to email and store the invoice.
2.5 — Email + save to Google Drive
After TemplateFox generates the PDF, the workflow splits into two parallel branches:
Gmail — Email to customer
- Recipient from Stripe customer email
- Subject with invoice number
- Body with PDF download link, amount, due date
Google Drive — Archive
- Downloads the PDF from TemplateFox URL
- Uploads to your Invoices folder
- File named with invoice number
Done. Stripe payment succeeds → invoice PDF generated → customer gets it by email → copy saved in Drive. Fully automatic.
